10.28.2010

Free Halloween Printable!!!!

Look at what I came across?! I found super fun (and FREE) printable for Halloween. What a fun and easy way to add a little more to your Halloween Decor.
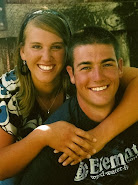
Want one for your home? Just follow the link and you can have one too. Remember to leave Jessica a comment to say Thank You for sharing such a fun sign!

10.23.2010

Halloween Parties

I LOVE Halloween and I LOVE Halloween parties! They are probably my favorite type of party to throw. This year my neighbor and I teamed up to throw a Halloween party for our kids. I know it's a little late in the season but if any of you need some last minute ideas for your festivities, you may get some here!

THE FOOD
We found all our food ideas from Disney's Family Fun website. I really wanted to find fun snacks that weren't totally loaded with sugar. (Too many treats + a group of preschoolers = complete insanity!)

Go HERE for the how-to on these pumpkin fruit cups. My neighbor made these and the mummy pizzas below. She said they were a lot easier to make than they look and they were SOO adorable. Go HERE for the Mummy Pizzas. They were a definite hit as well.


My treats weren't near as yummy but the novelty of eating eyes and fingers was fun for the kids at least. :) Go HERE for the edible eyeballs and HERE for the cheese fingers.


The drink was apple cider with creepy apple faces floating in it. I bought store-bought cider and Martha Stewart had the how-to on the faces. Go HERE for that.

We let the kids decorate sugar cookies at the very end for a dessert.

THE GAMES
We played two actual games at the party and then painted mini pumpkins for a craft activity. All our game ideas came from Martha Stewart as well. Go HERE for more fun games from her!


THE DECORATIONS
Well I only have one picture of the decorations because they weren't too elaborate but you get the idea... Streamers, balloons, orange tablecloths. The kids don't care. :)

The party was pretty simple but perfect for a group of kids. Good luck on all your upcoming celebrations this season. Happy Halloween!

10.14.2010

Photography Classes

A few years ago my husband and I splurged and bought a nice digital SLR camera. We have absolutely loved it but I was a little overwhelmed by all the features! I had learned a few little tricks along the way but really felt like I almost wasted my money on a nice camera I didn't even know how to use...

So for my birthday this year, my awesome husband bought me photography lessons through the highly talented Brooke Snow in Logan! She is such an excellent teacher and really makes everything easy to understand. I would highly recommend her if you live in the area... or if you don't, she now offers online classes too!

Our first class was on aperture and metering. Here are some of my photos from week 1. This picture was taken with a high aperture, thus everything in the picture is crisp...

Now this picture was taken with a low aperture, notice the rose really pops in comparison! Totally awesome, huh? :)


Okay now in this picture, my camera is still set to the low aperture, notice how the plant in the corner is blurry. Not so pretty for this picture, right?

With my camera set to a high aperture, everything in the picture is clear and much better looking. (And my kids happened to hug which makes the picture extra awesome, possibly a miracle!)

I have also learned how to adjust the lighting. As you can see in this picture, it's extra bright...

But with a little flip, I can turn it to this! Much better lighting for the picture even if she isn't smiling. :)
As you may have noticed, this post is not meant to educate you on aperture and metering... I'll leave that to the professionals! What I really wanted was to inspire all of you with fancy cameras but little photography knowledge to take a class or read your manuals. Something my teacher told us in the first class was that a digital SLR camera is basically just an expensive point-and-shoot if you don't know how to use all the features. Don't let your purchase go to waste!


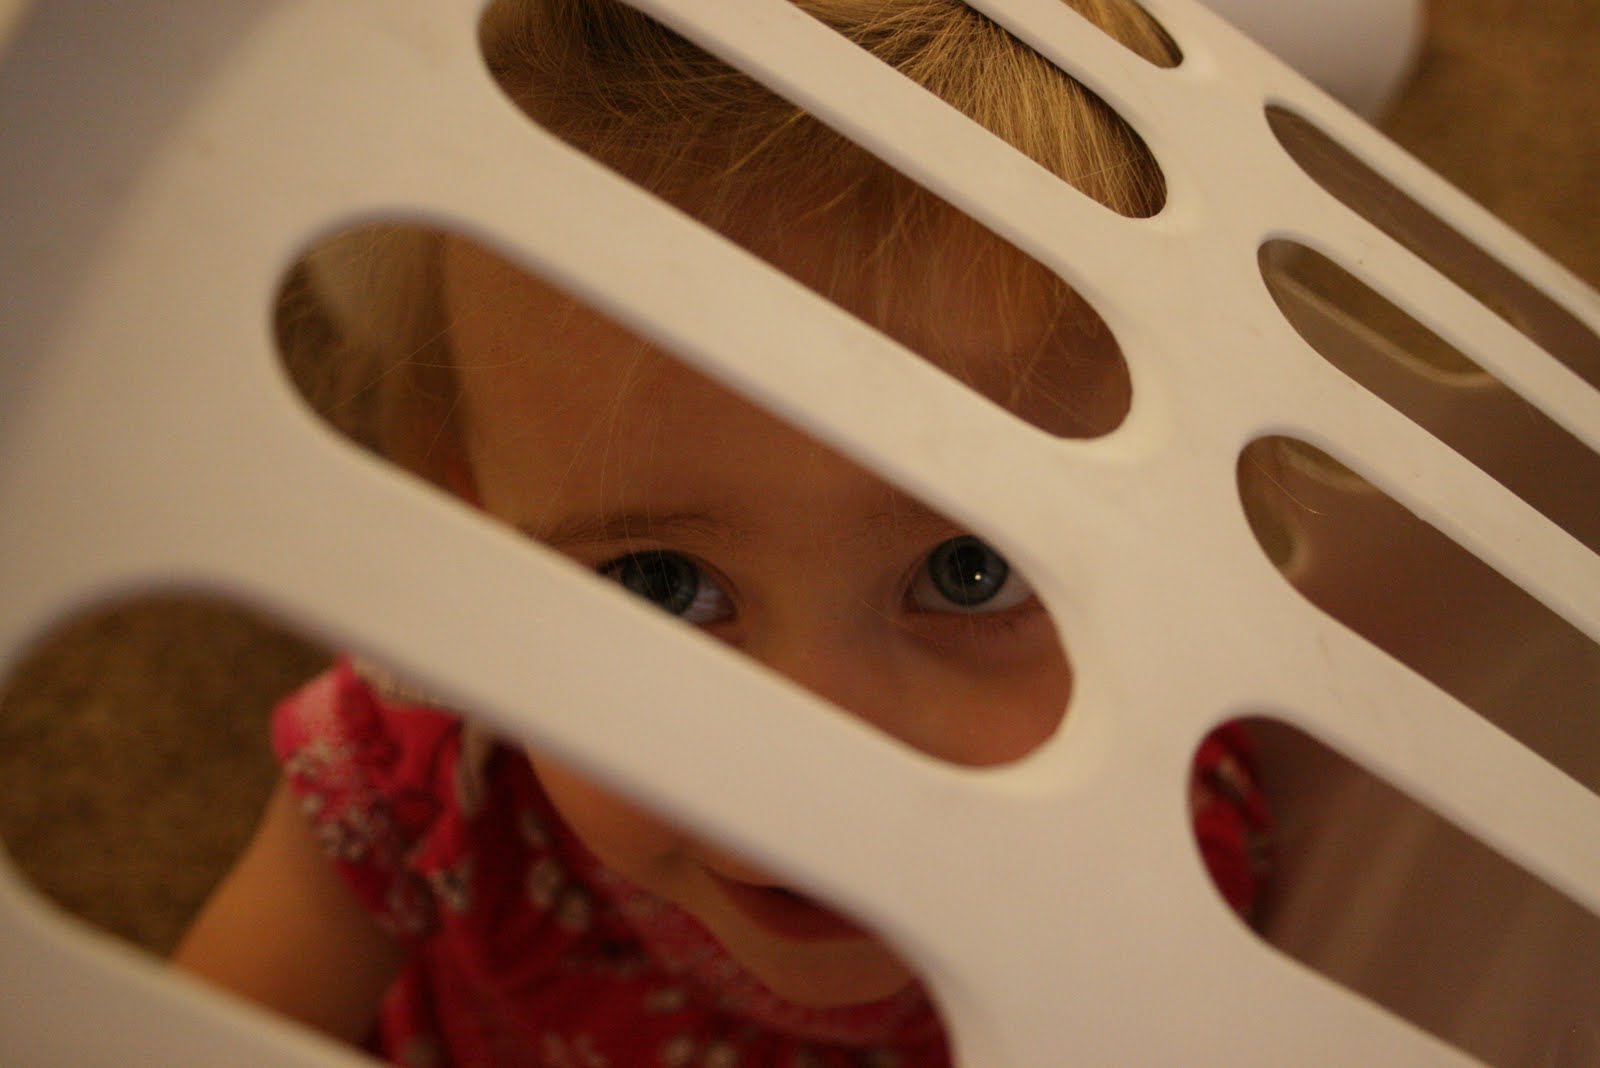
I have always liked photography but now I think I'm in LOVE! :)

10.11.2010

Glittered Pumpkins


I found this very cute, creative idea for glittered pumpkins here.


Supplies:
Real or fake pumpkins (I used fake ones from JoAnns)
Elmer's glue
Powdered or very fine glitter
Paint Brush
Paper plates or newspaper
Black or brown craft paint


Paint your pumpkin with glue, one section at a time. Be sure to get the glue in the ridges of the pumpkin so the glitter will stick. Dump glitter on your pumpkin. Allow to dry for about 1 hour. Then paint the stem with the black or brown paint. Depending on the type of glitter you use, and whether you want to keep your pumpkins for next year or not, you may have to spray it with paint lacquer to keep the glitter on.


**I first started just sprinkling it on but it was hard to make it look even. I ended up having to go back and paint over a few spots that already had been glittered and the new glitter I put on had a hard time sticking. Play with it and see what works for you.

10.05.2010

Creative writing

Today I don't have any pictures, crafts, or anything visual to share but I think it is important to mention creative writing when considering creativity. One of the greatest pleasures I have in life is reading and writing. When I am able to bring a story to life on paper it really is one of the greatest feelings in the world. I am not a great or accomplished writer but I do believe that the first step to becoming great at anything is studying. People go to school and learn about anatomy and biology and great number of other things to become experts on the body (doctors) and in order to be a great writer research is key! This is actually the greatest research too, because it requires reading the books you love to read. I aspire to write children's books so I read children's books every chance I get.
Recently my sister gave me a great idea to help aspiring writers get their ideas down on paper. Start with writing out short summaries of scenes until you reach the end of your story. This method is great because it helps you find the direction you want to take with your book and in a general sense so that you can later return with detail. My most recent story has about 52 scenes and I could have made more! Next write out all the characters, their names, and a short description. This is a good beginning for anybody who is interested in writing a short (or long!) story.
I would also like to point everyone to a blog by my brother-in-law who is a writer. If you leave a comment about a character, event, and place he will write a short story! Check it out.

10.04.2010

Chocolate Raspberry Sundae Topper

I found this recipe during the summer while I was working as a food preservation specialist in Salt Lake. Its something different and fun that you can preserve and eat throughout the year. It is also super tasty. NOTE**Due to their low acidity, most homemade chocolate sauces are not suitable for safe home canning. This recipe has been tested by the USDA and it is safe as long as you follow the directions.*


Ingredients:
1/2 cup sifted unsweetened cocoa powder
1 package powdered fruit pectin
4 1/2 cups crushed red raspberries (I used strawberries)
4 TBSP lemon juice
6 3/4 cups sugar

1. Prepare canner, jars and lids. I just keep my warm in the hot water bath or in the sink with hot water.

2. In a medium glass bowl, combine cocoa powder and pectin, stirring until evenly blended. Set aside.

3. In a large sauce pan, placed crushed raspberries and lemon juice. Whisk in pectin mixture until dissolved. (If you used a Teflon coated pan, don't whisk too hard or you will have flakes of Teflon in your topper). Bring to a boil over high heat, stirring frequently. Add sugar all at once and return to a full roiling boil, stirring constantly. Boil hard for 1 minute, stirring constantly. Remove from heat and skim off foam.


4. Ladle hot sundae topper into hot jars, leaving 1/4 inch headspace. Remove air bubbles and adjust headspace as necessary. Wipe rim. Center lid on jar. Screw band down until fingertip tight.

5. Place jars in boiling water bath. Make sure your jars are covered with 1 1/2 inch to 2 inches of water. Bring to a boil and process for 14 minutes. (This time is for altitudes 4000 feet above sea level. You would only need to process it for 10 minutes at sea level. Add an additional minute for each 1000 ft above sea level).

6. After the required processing time, turn off the heat and remove the canner lid; wait 5 minutes. Remove jars and allow to cool for 12-24 hours. Remove screw bands, wash well and store. *Don't store with the screw bands on jars. This will prevent mold from getting into your food. It also helps you to know if a jar has gone bad if the food is spilling out of the edges.


This recipe makes about six 8-oz jars. They are best used within a year, but will last for longer than that. Just remember to rotate your canned goods and you should be fine.